Azure Functions are really appealing for everything that has to do with automation. I use it for example to create new users in Office 365 or to lock files in SharePoint. I use Function Apps with HTTP Trigger and with a scheduler. In this post I will show you how to get started with PowerShell in Azure Functions.
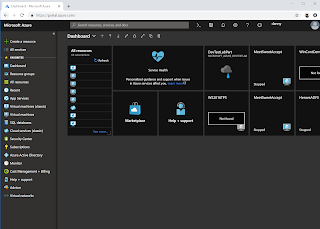
Your Azure Portal should look something like this (November 2018):
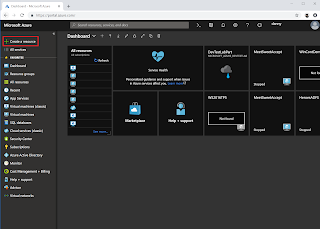
Select "Create a resource":
Search for "function app" and should see the "Function APP" as the first result:
Select the item and click on "Create":

Fill out the form. The App name must be unique, but Azure will give you hints if the name is taken.

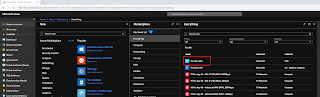
Azure will create the App, which might take a couple of minutes. After creation you can search for your appname under "All resources":

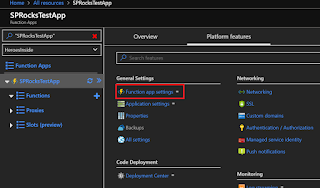
Now here's the kicker: Microsoft introduced some changes in September 2018 when they deployed Azure Functions v2. They dropped the support for PowerShell and other "experimental languages", so you will NOT be able to find them in v2 Function Apps. But don't worry! We just set the function back to v1. select "Function app settings":

You can also click on the app and select "Platform features" and then "Function app settings":
Now simply click on "~1" to select Azure Functions v1:

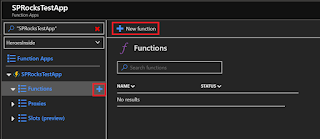
To get an app off the ground, select "Functions" and "New function" or click on the "+" next to "Functions":
Select "create your own custom function":

You should see something like this. Notice that PowerShell is missing there:
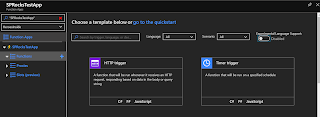
To get to PowerShell toggle "Experimental Language Support" to "Enabled":

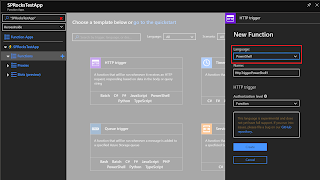
In this example I used a HTTP trigger Azure function. Select the language and change the name:
After clicking on create you are greeted with this screen:
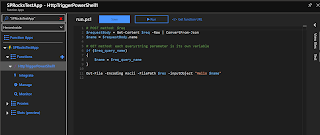
Yes! We did it! Now we can use PowerShell in Azure Functions! You will have to keep the header, just start coding below the content that is already there and you are good to go.